
HVAC Troubleshooting: 6 Things to Check
Is your HVAC system not functioning properly? Before you go calling in the experts, there are several things you can check yourself. This will save you time and, most importantly, money.
HVAC systems are just like any other appliances- sometimes they malfunction.
The problem is, most people panic when their HVAC system begins to stop working. This is due to how much they rely on them and the thought of living without them for a while.
But, we’re here to tell you that there’s no need to worry if your system isn’t working properly.
Fortunately, you can easily fix a lot of HVAC system issues within minutes. That’s why we’ve put together this HVAC troubleshooting guide.
In this article, we’ll share six things you should check first before calling in the experts. In fact, these are common problems that every HVAC owner should be aware of.
By learning how to fix them, you’ll have a fully functioning system all year round.
Read on for more information.
1. Check Your Circuit Breaker
Ever wondered how you can use so many appliances at once without your house burning down? Well, it’s not down to magic or luck; it’s because of your circuit breaker.
Your circuit breaker keeps you safe in case your appliances start to malfunction. If there is a sudden power surge, it will cut off all the electricity. This is to prevent anything from sparking or catching fire.
Your HVAC system will have its own switch on the circuit breaker. If the breaker has tripped, then the power would have been cut off.
So, to get your HVAC system back up and running, simply hit the reset button or switch on the circuit breaker. It should turn back on immediately without any issues.
But, if your circuit breaker keeps tripping, then there could be a problem with it or your HVAC system. At this point, you should call in an expert to fix it, so view here for more information.
2. Check the Air Filter
This is, in fact, a handy air conditioner maintenance tip.
Your HVAC system air filter is working around the clock and does an essential job. Before hot/cool air starts circulating around your home, the air filter has already removed things like:
- Dust
- Mold
- Debris
This ensures that the air you and your family are breathing is as clean as possible. As a result, it should reduce allergy and respiratory symptoms.
But, because your air filter is constantly working hard, it’s prone to problems. It’s easy for it to become dirty, blocked, and even damaged because of this you will want to make sure your 20x25x1 furnace filter is checked and changed regularly. If your HVAC system isn’t running at optimal performance, you may need to hire a professional to come out and do an annual maintenance check to see if, or how badly your system is damaged.
When this happens, the air quality reduces and, the air conditioning system may malfunction.
You should check your air filter at least once a month to ensure it’s working properly. To do this, just shine a bright light through it. If you can see the light through the opposite side, then it’s ok.
But if not, it’s time to replace it.
3. Check Your Thermostat
Everyone will have a thermostat to control the temperature of the air coming into the house. Unfortunately, sometimes these can malfunction too.
Go to your thermostat and check it’s on the right setting. Ensure that it’s set to the temperature you want and not programmed too high or low.
Sometimes this can happen, and all you need to do is adjust it. You’ll then have cool/warm air flowing through again in no time.
But, if it doesn’t seem to be working, then check the batteries. These can occasionally need replacing, making it a quick fix.
If none of these methods work, then it’s at this point you should call experts like McCoy and Sons for help. They will be able to accurately diagnose the problem and ensure that your HVAC is functioning as it should.
4. Check the Outdoor Air Conditioning Unit
The outdoor unit can often cause AC problems.
Due to being located where it is, it is prone to damage, especially from severe weather. It can even start sinking, which throws the system off balance.
When this happens, it will stop operating correctly.
So, you should check the outdoor unit as often as you can to ensure it’s still level and there is no sign of damage. If it has started to sink, then try to level it asap.
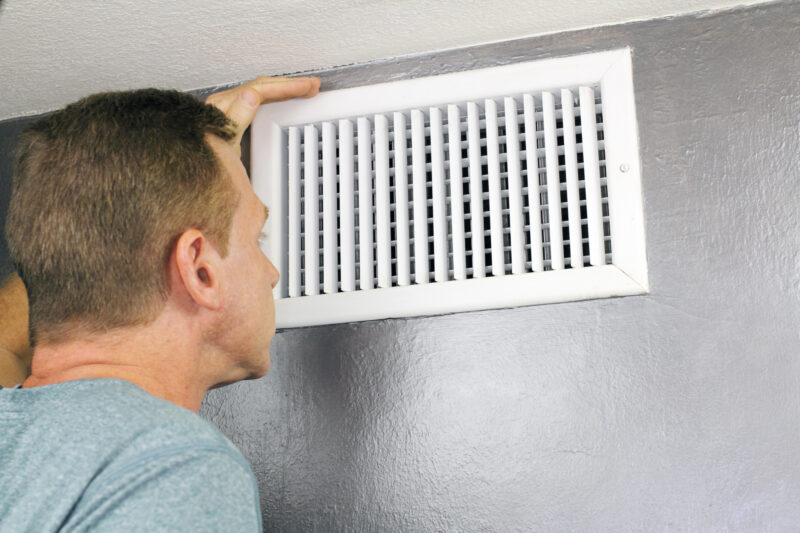
5. Ensure the Registers Are Open
This is one of the simplest solutions to fix a broken AC system.
If your thermostat is working correctly and you cannot detect any damage within the system, then check the registers. These are grate-like metal plates that are located at vent openings.
They’re designed to simply control the airflow into your property. So, if they’re closed, no air can pass through.
In this case, all you have to do is open them back up. And just like that, you’ll have cool/hot air flowing through again.
6. Clean the Condenser Coils
Condenser coils are located in your outdoor unit. Due to where they are, it’s common for them to build up with dust and dirt.
When this happens, they stop working efficiently.
So, every couple of months, go outside and give the coils a wipe down. Even the smallest amount of dirt can make a difference to the temperature of the air passing through.
A Simple HVAC Troubleshooting Guide
We hope this HVAC troubleshooting guide has been helpful to you.
As you can see, many things can affect how well your HVAC system operates. Fortunately, most problems are easy fixes and don’t require a technician to assist.
If your system starts to malfunction, ensure you check everything we have mentioned before calling for help. You’ll save a lot of time and money.
Finally, check out our blog for more household tips and advice.