
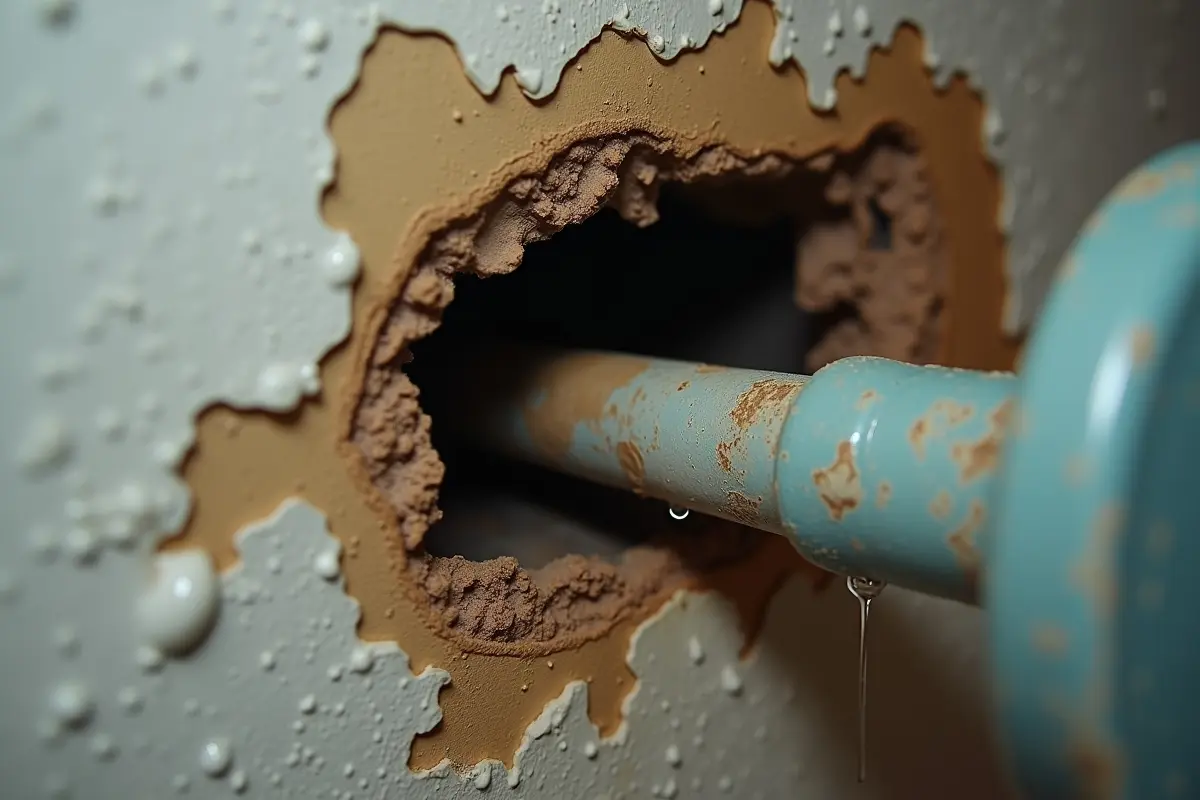
How to Find a Hidden Water Leak in Your Home
A hidden water leak can waste thousands of gallons before noticeable signs reveal it. The Environmental Protection Agency’s WaterSense program says household leaks can waste nearly 10,000 gallons of water per home each year, and 10% of homes have leaks wasting 90 gallons or more per day.
The hard part is that concealed leaks rarely announce themselves cleanly. A pinhole in a copper line, a cracked toilet flapper, or a slow leak behind tile can all show different clues. The goal is to narrow the location before opening walls, calling a plumber, or buying tools you may not need.
Start with the water meter test
Your water meter is the best first test because it measures all water entering the home. Most residential meters read in cubic feet or gallons, and many have a small low-flow indicator shaped like a triangle, star, or sweep wheel. That indicator can move when flow is too small to notice at a faucet.
Turn off every fixture and appliance that uses water. This includes ice makers, humidifiers connected to plumbing, washing machines, dishwashers, irrigation timers, and toilet bidets. Do not shut off the main water valve yet, because you want to know whether water is moving through the meter while the house is supposed to be idle.
Watch the meter for 5 minutes. If the low-flow indicator moves at all, water is passing through the meter. For a slower leak, write down the reading, wait 30 to 60 minutes without using water, and check again. A change of even 0.01 cubic feet equals about 0.075 gallons, which is enough to confirm movement on many meters.
If the meter changes, close the main shutoff valve inside the house. Then check the meter again. If the meter stops, the leak is likely inside the home or in plumbing after the shutoff. If it keeps moving, the leak is likely between the meter and the house, such as the underground service line.
Check toilets before looking inside walls
Toilets are one of the most common leak sources, and they can waste more water than many wall leaks. EPA WaterSense notes that a worn toilet flapper can waste hundreds of gallons per day, especially if mineral deposits prevent a tight seal. A toilet leak may be silent if water slips from the tank into the bowl without triggering a full refill.
Remove the tank lid and look at the water level. It should sit about 1 inch below the top of the overflow tube. If water is spilling into the tube, adjust the fill valve or float. If the level is correct, add several drops of food coloring to the tank and wait 10 minutes without flushing.
If color appears in the bowl, the flapper or flush valve seal is leaking. On many toilets, the flapper chain should have about 1/4 to 1/2 inch of slack when the handle is at rest. A chain that is too tight can hold the flapper slightly open.
Also listen for brief refill cycles. A toilet that refills for 5 to 15 seconds every few minutes is often losing tank water into the bowl. This is sometimes called a “phantom flush,” and it can be easy to miss in a busy home.
Use your water bill as a leak detector
A water bill can reveal a leak before visible damage appears. The EPA says a family of four should be suspicious if winter water use exceeds 12,000 gallons per month, because outdoor watering is usually minimal in colder months. That threshold is not perfect, but it is useful for separating normal use from probable leakage.
Compare the same billing period from last year, not just last month. Seasonal habits can distort the picture. A July bill after lawn watering will not compare well with an April bill.
Look for a steady increase across two or three billing cycles. A sudden jump often points to a new leak, running toilet, irrigation issue, or water softener malfunction. A slow climb may suggest a pinhole leak, aging fixture, or pressure-related problem that worsens over time.
If your utility offers hourly or daily usage through a smart meter portal, check overnight flow from midnight to 5 a.m. Continuous use during those hours is a strong leak clue unless someone works nights, runs laundry, or uses scheduled irrigation.
Read stains, smells, and surface changes carefully
Water often travels before it becomes visible. A ceiling stain may appear several feet from the actual pipe leak because water follows framing, drywall seams, ductwork, or electrical cable. The International Association of Certified Home Inspectors notes that moisture staining beneath bathrooms is often offset from the fixture that caused it.
Brown or yellow ceiling stains usually mean water has dissolved tannins, dust, or old building materials. A fresh plumbing leak may first appear as a soft bubble in latex paint. Drywall that feels cool compared with the surrounding wall can indicate evaporation from damp material.
Walls and ceilings
Use a flashlight held nearly parallel to the wall. This low-angle light makes swelling, nail pops, and tape seams easier to see. Pay close attention below second-floor bathrooms, behind refrigerators with ice makers, and under windows where supply lines may run.
A moisture meter helps confirm suspicion, but readings require context. Pin-type meters often flag drywall above about 17% moisture content as elevated, while wood framing near 20% moisture can support fungal growth if conditions persist. Readings vary by meter and material, so compare the suspect area with a dry area nearby.
Floors and trim
Cupped hardwood often means the underside is wetter than the top surface. Vinyl plank seams that lift near a dishwasher, toilet, or refrigerator can signal repeated wetting. Baseboards may swell at the lower edge first because medium-density fiberboard absorbs water quickly.
Tile floors can hide leaks for weeks. Loose grout, hollow-sounding tiles, and a musty smell near a shower curb are more important than a single cracked tile. Shower pan leaks often show up below the bathroom only after several showers, not immediately.
Odors and humidity
A musty smell without visible staining often means damp material inside a cavity. Indoor relative humidity above 60% for several days can also slow drying and encourage mold growth. ASHRAE commonly recommends keeping occupied indoor spaces near 30% to 60% relative humidity, depending on season and building conditions.
If one room stays 5% to 10% more humid than similar rooms, investigate plumbing fixtures, exterior walls, and HVAC condensate lines nearby. A hygrometer is inexpensive and can reveal patterns that your nose misses.
Narrow the leak by shutting off zones
Many homes have individual shutoff valves under sinks, behind toilets, near water heaters, and at appliances. Closing them one at a time can isolate a leak without cutting drywall. This works best after the meter test confirms continuous flow.
Start with toilets because they are common and easy to isolate. Close the toilet supply valve, wait 10 minutes, and check the meter. Then move to sinks, refrigerator ice makers, washing machine valves, humidifier supplies, and outdoor hose bibs.
Water heaters deserve special attention. A temperature and pressure relief valve may discharge into a pipe or drain where you never see the water. The valve is designed to open if tank pressure or temperature becomes unsafe, and residential water heater relief valves are commonly rated to open at 150 psi or 210°F.
Do not cap or plug a relief valve discharge pipe. If that pipe is wet, dripping, or warm when no hot water has been used, call a plumber. The cause may be excessive pressure, thermal expansion, a failing valve, or overheating.
Irrigation systems can also hide leaks underground. Turn off the irrigation isolation valve if your system has one, then repeat the meter test. A soggy spot, unusually green strip of grass, or sunken soil near a sprinkler line can indicate leakage, but sandy soil may drain too quickly to show puddling.
Decide whether to DIY, use tools, or call a pro
The right next step depends on evidence, access, and risk. A toilet flapper is very different from a wet ceiling under a bathroom. The table below gives practical conditions for each route.
| Situation | Best option | Why it fits |
|---|---|---|
| Meter moves, but no stains or damage | DIY isolation test | Shutoff valves can separate toilets, appliances, irrigation, and indoor plumbing without demolition |
| Colored dye enters toilet bowl | DIY toilet repair | The leak is identified, visible, and usually limited to tank parts |
| Moisture stain grows after showers | Plumber or leak detection specialist | Shower valves, pans, and drains need pressure or flood testing |
| Meter moves after main house valve is closed | Plumber or utility coordination | The service line between meter and house may be leaking underground |
| Wet drywall, sagging ceiling, or active dripping | Plumber first, then drying contractor if needed | Stopping water comes before opening wet assemblies |
| Musty odor with no visible source | Moisture inspection | Thermal imaging and moisture meters can map damp areas before walls are opened |
Professional leak detection often uses acoustic listening devices, tracer gas, thermal cameras, and pressure testing. A typical residential leak detection visit often costs about $150 to $600, depending on region, access, and whether underground lines are involved. That fee can be worth it before removing tile, cabinets, or finished ceilings.
When thermal cameras help
Thermal cameras do not see water directly. They show surface temperature differences. A damp area may look cooler because evaporation pulls heat from the surface, but sunlight, insulation gaps, and HVAC registers can create false patterns.
Thermal imaging works best when there is a temperature difference of at least 10°F between wet and dry areas or between sides of a wall assembly. A camera image should be confirmed with a moisture meter before anyone cuts drywall.
Watch the high-risk leak locations
Some locations deserve extra attention because failures are common and damaging. Washing machine hoses are a major risk because they are under pressure whenever the valves are open. Braided stainless steel hoses are more resistant than rubber hoses, but they still have rubber inside and should be inspected for bulges, rust, and kinks.
Under-sink cabinets often hide slow leaks around supply valves, trap joints, and sprayer hoses. Place a dry paper towel under the trap and valves, run hot and cold water for 2 minutes, then check for wet spots. Hot water can expand fittings and reveal leaks that cold water does not.
Refrigerator ice maker lines are another frequent culprit. Plastic tubing can kink or become brittle, especially behind a refrigerator that is moved for cleaning. Copper and braided stainless lines are generally more durable, but any line can leak at compression fittings.
HVAC condensate drains can mimic plumbing leaks. In cooling season, a central air conditioner can remove 5 to 20 gallons of water from indoor air per day in humid climates. If the condensate drain clogs, water may appear near a ceiling, furnace, closet, or floor drain rather than near a supply pipe.
Confirm the repair before closing anything up
After a repair, repeat the same test that first proved the leak. If the meter moved before, check that it stays still for at least 30 minutes with all fixtures off. If a ceiling stain grew after showers, run the shower for 10 to 15 minutes and inspect below with a flashlight.
Wet materials need time and measurement, not guesswork. Drywall, subflooring, and framing can feel dry at the surface while still holding moisture inside. Compare suspect areas with unaffected areas using the same moisture meter setting and the same material type.
Do not repaint a stain immediately. If the source is fixed, mark the stain edge lightly with painter’s tape and check it for 48 hours. A stain that expands, darkens, or feels soft means moisture is still present.
If you opened a wall or ceiling, photograph the pipe, repair, and surrounding framing before closing it. Those photos help later if another leak appears nearby, and they show the route of hidden plumbing for future drilling, remodeling, or cabinet installation.